Disassembling & Deep Cleaning your Classic Volcano Vaporizer

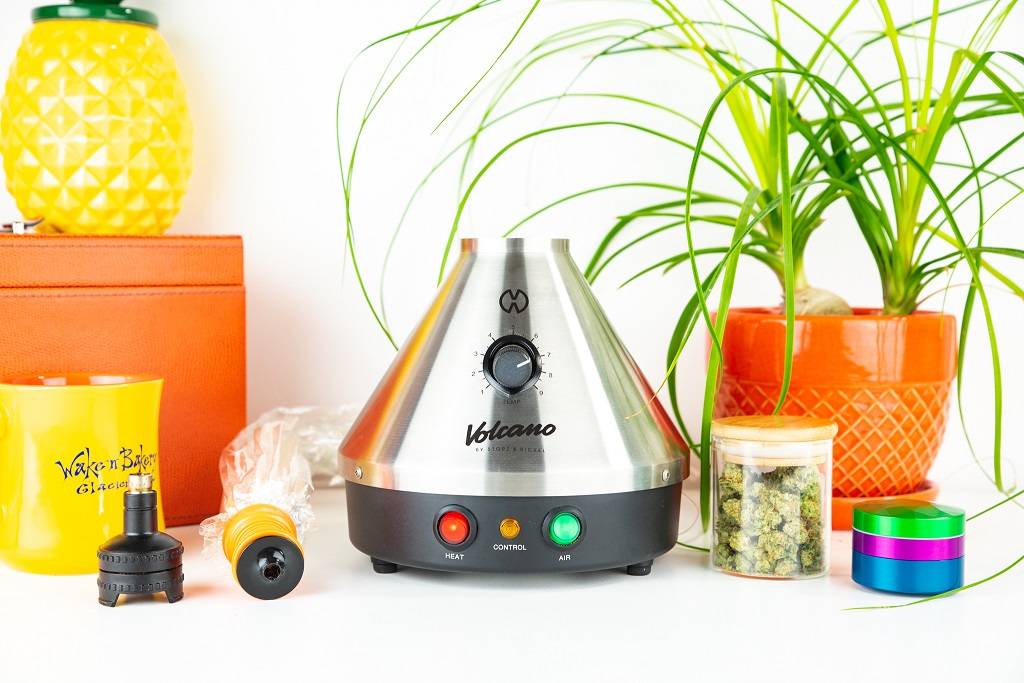
Weve seen the blogs on how to clean your solid valve or easy valve filling chamber for the Volcano Vaporizer, but there isnt much out there about how to give your Classic Volcano Vaporizer unit the deepest of cleans. Although not as essential as cleaning your valve kit, cleaning the Volcano unit itself remains very important, especially given that your Volcano can last 10+ years if properly maintained. Note: This is a sponsored guest post courtesy of To The Cloud Vapor Store.
Over time herb particulate can fall into the Volcano Vaporizer body through the cooling grate and stick to the heating element. Waxes and concentrates also seep onto the heating element and solidify after repeated sessions with build up in all parts of the unit occur overtime. Quick disassembly of the unit can give you access to the areas which otherwise cannot be cleaned and allow you to refurbish your Classic Volcano Vaporizer. Here’s a great guide to the best CBD vaporizers UK and a guide to the best vape pens.
-
CBD Products, CBD Vape, CBD Vape, Disposable Vape Pens, Vaping Products
Darwin The Big One 2000mg CBD Disposable Vape Device 3000 Puffs
£19.00
What you will need
Before starting out make sure you have the following items to get the best clean.
- ISO propyl alcohol ( At least 91%)
- Plyers
- Torx T8 Screwdriver
- Small adjustable size wrench
- Cleaning rag
- Paper towels
- Windex
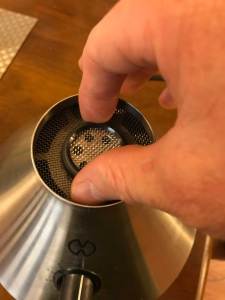
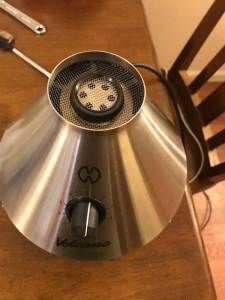
Step One – Remove the heating element cover (this is the black circular plastic piece) by twisting counterclockwise. If you cannot twist off with ease, as is the case with most newer volcanoes, do not force it. Instead heat up the Volcano and this will loosen the piece. Do make sure to use pliers or wear a heated glove if you do have to heat the Volcano up to remove the heating element cover. It is also important to turn off and unplug the Volcano before you continue. I have given myself some minor jolts playing around with the insides of a volcano when it is still powered on.

Step Two – Unscrew the Stainless Steel shell. For this you need a Torx T8 screwdriver as the OEM Volcano Vaporizer screws are not phillips or flathead. Once this is completed you can remove the shell. There is a wire which will be attached to a bolt in the back. To remove the nut from the bolt you will need a small adjustable wrench. When you have completed this step set the stainless steel shell aside.
* Fun Volcano Fact: when opening up your Volcano, you can see the date it was manufactured which is written under the shell.
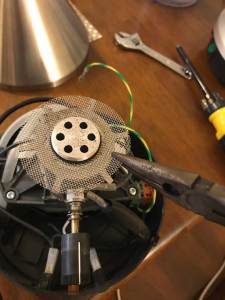
Step Three – Now you can easily access the ventilation grate and metal star disc which sit on top of the thermostat insulation. For safety reasons I pull these off with pliers. Underneath the star disc you will see the heating element wrapped in insulation. I am unsure what material Storz & Bickel uses for insulation. The important thing though is do not play with it when cleaning your volcano as its structure is delicate. To remove the particulate build up here use a can of compressed air. Now that you have your Classic Volcano disassembled you can start the cleaning.

Step Four – The easiest thing to do is to clean the top of the heating element (hot air outlet). If you heated your volcano up to remove the heating element cover then you will need to wait around 30 minutes for your volcano to cool down completely. It is pretty wild how long the Volcano will stay hot for after it is powered off. This is a true testament to the unit efficiency. Cleaning the top of the heating element can be a breeze or a pain depending on how much build-up you have and if it is stuck to the heating element. A simple wipe down with a dry towel will do the trick to remove particulate but if you have some solidified resin stuck on you will need an iso soaked cloth and will need to scrub with a decent amount of force. People say that the Arizer Extreme Q is a lot like the Classic Volcano so we created a comprehensive guide to the Extreme Q right here.
Step Five – Throwing the star disc and the ventilation grate into an ISO bath with remove pretty much all build up stuck to these items. Anything you cannot get off, feel free to hit it with a toothbrush. After you have it all clean give it a water rinse and place on a towel to dry.
Step Six – The internals of the unit are the easiest to clean. I like to hit the inside with a can of compressed air or a keyboard vacuum. The inside of the Stainless Steel shell can be wiped out with a Clorox wipe dabbed in some ISO for larger build-up.
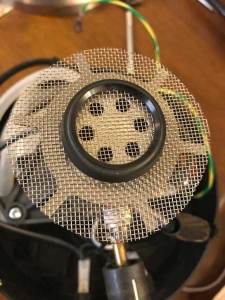
Step Seven – Putting it all back together. It is important to make sure all pieces and parts are completely dry. The first part to put back is the star disc which goes over the heating element, followed by the grate, then followed by screwing on the heating cover. From there you will need to re-attach the back wire to it original nut and bolt and put the Stainless steel Volcano cover back on. When replacing, tilt the cover to line up the heat dial opening with the heat dial. This will make putting your cover back on a breeze. Now all you need to do is screw back on the Torx screws, give the outside a good wipedown with some windex and voila, you have a full refurbished volcano.
